How to Patch and Paint a Wall So the Repair Disappears
A patch that shows through the paint was usually rushed at the sanding or priming stage. This is the sequence that leaves a flat, invisible repair.
To patch and paint a wall so the repair disappears, you have to think like a finisher rather than a painter. Paint does not hide a defect; it reveals it under raking light. The work that matters happens before the first coat: cleaning, filling in thin layers, sanding flat, and priming the repair so it absorbs paint at the same rate as the surrounding wall.
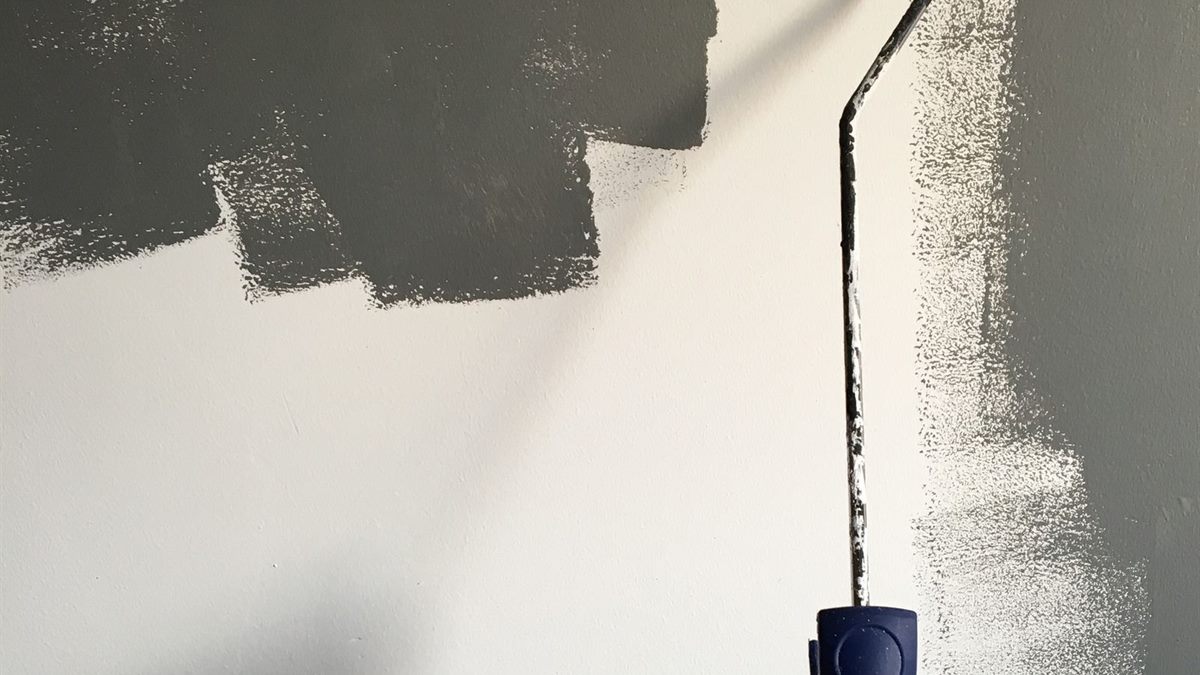
Assess the damage before you fill
Small nail holes and hairline cracks are straightforward. Larger holes, crumbling plaster, and cracks that move need a different approach. Press on the area around the damage. If the plaster is soft or hollow, cut back to sound material rather than filling over a weak base.
A crack that reappears after filling may be movement, not just shrinkage. If it is wide, diagonal, or follows a straight line near an opening, have it assessed before you decorate over it.
Gather the right tools
- Filling knife and a flexible filling blade.
- Fine surface filler for small holes; patching plaster for larger areas.
- Sandpaper in two grits, plus a sanding block.
- Dust mask, eye protection, and a drop sheet.
- Primer, paint, roller, and a small brush for edges.
Do not use a single thick blob of filler to close a deep hole. It will shrink, crack, and leave a bump that shows under paint.
Fill in thin layers
Remove loose material and dust, then apply the filler in thin layers, letting each one dry before adding the next. For a deep hole, build up the base first and save the final skim for a wide, flat blade that bridges the repair and the surrounding wall.
Overfill slightly, then sand back. The goal is a surface that is level with the wall, not a patch that sits on top of it. Feather the edges so there is no visible ridge.

Sand, check, and sand again
Sand with a block, not just your fingers, to keep the surface flat. Use a finer grit for the final pass. Then close the curtains and hold a light low against the wall; raking light shows every ridge and hollow. Fix what you see now, because paint will not cover it later.
Wipe away dust with a slightly damp cloth and let the wall dry completely before priming.
Prime the repair
Filler absorbs paint differently from the surrounding wall, which is why patches can show as dull or shiny areas. A primer seals the filler and evens out absorption so the topcoats dry uniformly. Use a primer suitable for the filler and the existing finish.
If the wall was previously painted with a strong colour, a stain-blocking primer may be needed before the new light coat. Otherwise the old colour can bleed through.
Paint with a consistent technique
Cut in the edges with a brush, then roll the main area in a W pattern to spread the paint evenly. Keep a wet edge to avoid lap marks. Two thin coats usually look better than one thick coat, and the second coat should go on after the first is fully dry.
Paint the whole wall rather than just the patch when the colour is more than a year old. A spot repair rarely matches, because the original paint has faded and the sheen has changed.
Safety with older paint
Homes built before the late 1970s may have lead-based paint, and sanding it creates hazardous dust. Do not dry-sand unknown paint. Use a test kit or a professional assessment, and follow lead-safe work practices if lead is present. The EPA lead guidance explains the risks and the rules for renovation.
Modern paints and fillers can also release volatile organic compounds while they cure. Ventilate the room, keep children and pets away from wet surfaces, and choose low-VOC products where possible. The EPA overview of VOCs is a useful reference.
When the patch is near a wet area
Walls in bathrooms and kitchens need a different approach, because moisture finds weak points. Use moisture-resistant filler and paint, and fix the underlying leak before decorating. If the patch is part of a larger bathroom repair, our guide to bathroom renovation mistakes covers waterproofing and ventilation.
Once the wall is sound, the final colour has to work with the room. Our guide to paint colours that make rooms look bigger helps you choose a shade that suits the light.
The test of a good repair
Stand at the doorway and look across the wall with the light behind you. If you cannot see where the patch was, the job is done. If you can, the fix is another thin layer of filler and another sand, not another coat of paint.
Frequently Asked Questions
Can I paint over filler without priming?
It is possible, but the filler will absorb paint differently from the surrounding wall and may show as a dull patch. A primer evens out absorption and gives a more uniform finish.
Why does my wall patch still show after painting?
The usual causes are a ridge at the edge of the filler, insufficient sanding, or a difference in texture and absorption. Sand flat under raking light and prime the repair before topcoating.
How do I repair a large hole in drywall?
Cut the hole to a clean shape, add a backing support, fix a patch of matching board, then fill the joints in thin layers with joint compound, sand, and prime. Large holes are easier with a repair patch kit.
Is it safe to sand old paint?
Only if you know the paint does not contain lead. In homes built before the late 1970s, test before sanding. Lead dust is a serious health risk, especially to children, and may require a certified contractor.