The Home Renovation Checklist to Finish Before You Demolish
Most renovation disasters are decided before the first hammer swings. This checklist covers the decisions to lock down while changes are still cheap.
A home renovation checklist is not a list of materials. It is a list of decisions. The expensive part of a renovation is rarely the tile; it is the wall that has to come down again because the plumbing route was decided late. Work through the items below while the room is still intact, and you will spend your budget on the house rather than on rework.
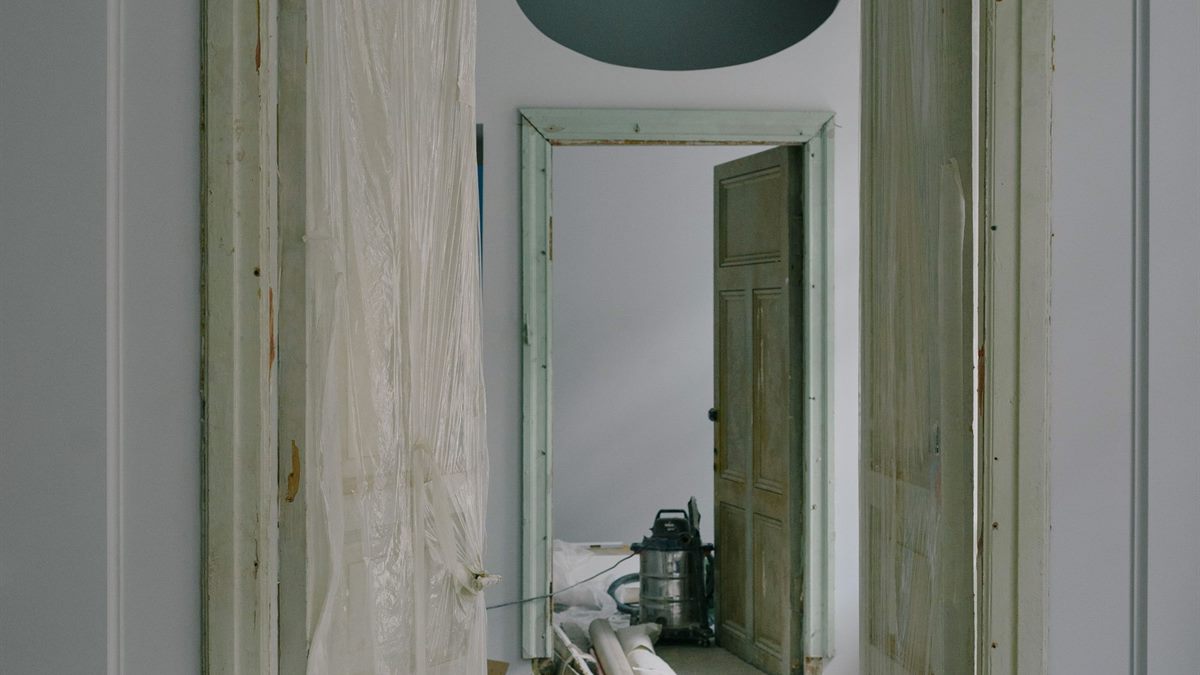
1. Define the problem the renovation solves
Write one paragraph describing what is wrong with the room today. Be specific: the shower leaks into the hallway, the kitchen has no usable bench space, the bedroom has one power outlet. Then write what a finished room must do. This becomes the scope, and anything outside it becomes a change order with a price.
Vague goals produce vague quotes. A contractor cannot price “make it nicer” without guessing, and guesses are usually resolved in the contractor’s favour.
2. Set a budget with a contingency line
Separate the budget into three parts: materials, labour, and contingency. Contingency is not optional. Old houses hide surprises behind plaster, under floors, and inside walls. A contingency of 10 to 20 percent of the construction cost is a common working range; the older the building, the more it deserves.
- List fixed costs first: structural work, waterproofing, electrical, plumbing.
- Price finishes after the fixed work, not before.
- Keep a written record of every change and its cost.
- Decide in advance which items you will drop if the budget runs short.
3. Confirm what needs permission
Structural alterations, extensions, changes to the building facade, and some plumbing and electrical work may require approval from your local authority or building management. Ask before you buy materials. In apartments, the building manager may also control working hours, waste removal, and water shut-offs.
If the property is older, check for asbestos-containing materials before demolition. Disturbing them is a health hazard and a legal issue in many jurisdictions. The HSE construction guidance is a useful reference for safe work practices and risk management.
4. Fix the sequence of trades
Renovation work follows a rough order because each trade depends on the one before it. Skipping ahead is how a new floor gets ruined by a later plaster repair.
- Demolition and strip-out.
- Structural work and any changes to openings.
- First-fix electrical and plumbing, before walls are closed.
- Insulation, waterproofing, and screed.
- Plaster and render, then drying time.
- Tiling, joinery, and second-fix electrical and plumbing.
- Painting and decorating.
- Flooring, fixtures, and final clean.
Your contractor may vary this slightly, but any plan that puts painting before wet trades or flooring before plumbing testing should be questioned.
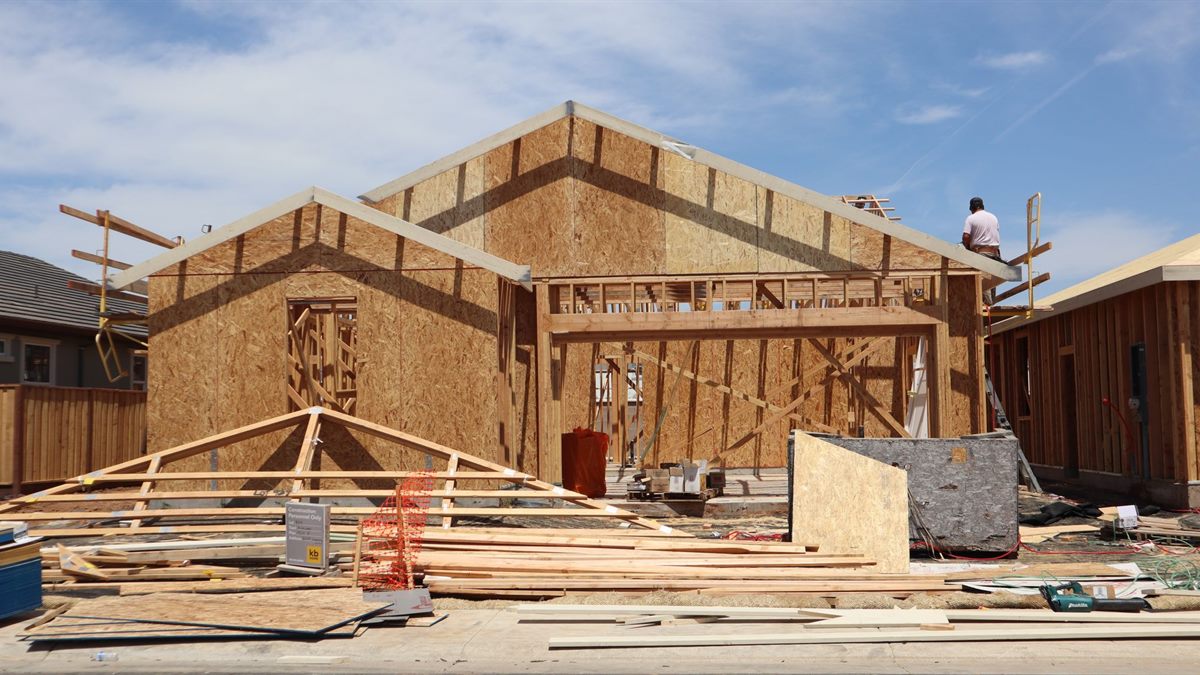
5. Get written quotes on the same scope
Send every contractor the same drawing and the same written scope so the quotes can be compared. A cheap quote is often cheap because it excludes something. Ask each bidder to list what is included, what is excluded, the payment schedule, and the expected start and finish dates.
Never pay the full amount up front. A schedule tied to completed stages protects both sides. Keep receipts and a photo record of work as it progresses, especially anything that will be hidden behind walls.
6. Plan services and ventilation
Renovation is the best moment to improve ventilation, because the walls are open. Bathrooms and kitchens need mechanical extraction, and dryers need a route outside. Good ventilation also helps control moisture, which is the root cause of most mould problems. The EPA mould guidance explains how moisture becomes a health issue and when cleanup needs professional help.
If the renovation includes a bathroom, read our guide to bathroom renovation mistakes before waterproofing begins. It covers the details that are almost impossible to correct later.
7. Protect the rest of the home
Dust travels. Seal doorways with plastic sheeting, cover floors on the route to the exit, and agree where waste will be stored. Confirm who is responsible for daily cleanup and for the final removal of debris. A renovation that damages the rooms you are not working on is still over budget.
8. Keep a completion file
Collect warranties, product manuals, paint colours, tile codes, and photos of concealed work. This file saves time when you need a repair in five years, and it adds value when you sell. A renovation is finished when the documentation is finished, not when the last worker leaves.
If the plan includes a kitchen rather than a full build, a smaller refresh may solve the problem for a fraction of the cost. See our small kitchen refresh ideas before committing to a full strip-out.
Frequently Asked Questions
How long should a home renovation take?
A single bathroom commonly takes several weeks, and a full kitchen or multi-room renovation can take several months. The schedule depends on scope, permits, material lead times, and drying time between stages. Ask each contractor for a stage-by-stage timeline.
What percentage of the budget should be contingency?
A common working range is 10 to 20 percent of the construction cost. Older buildings and projects that open up walls deserve the higher end, because hidden defects are more likely.
Should I pay a contractor a deposit?
A deposit can be normal, but keep it modest and tie further payments to completed stages. Never pay the full contract value before work starts, and get the payment schedule in writing.
Do I need a permit for interior renovation?
It depends on the work and where you live. Structural changes, extensions, and some electrical or plumbing work usually need approval. Check with your local authority before demolition, not after.